Workflow management in Embed#
Feature availability
Embed requires an Embed license. For more information about when to use Embed, including costs and the licensing process, see Embed on the n8n website.
เวลาคุณจัดการ deployment แบบ embed ของ n8n ที่ใช้ข้ามทีม หรือข้ามองค์กร คุณอาจต้องรัน workflow เดียวกัน (หรือคล้ายกัน) ให้กับผู้ใช้หลายคน มี 2 วิธีให้เลือกใช้:
| Solution | Pros | Cons |
|---|---|---|
| Create a workflow for each user | ไม่มีข้อจำกัดเรื่อง trigger (ใช้ trigger อะไรก็ได้) | ต้องจัดการ workflow หลายอัน |
| Create a single workflow, and pass it user credentials when executing | จัดการ workflow ง่าย (เปลี่ยนแค่ workflow เดียว) | เวลาจะรัน workflow ต้องให้ product ของคุณเป็นคนเรียก |
Warning
API ที่อ้างถึงในเอกสารนี้อาจเปลี่ยนแปลงได้ตลอดเวลา อย่าลืมตรวจสอบการทำงานทุกครั้งที่อัปเกรดเวอร์ชัน
Workflow per user#
มี 3 ขั้นตอนหลักๆ:
- ดึง credentials ของแต่ละ user และ parameter อื่นๆ ที่ workflow ต้องใช้
- สร้าง n8n credentials ให้ user นี้
- สร้าง workflow
1. Obtain user credentials#
ขั้นตอนนี้คุณต้องเก็บ credentials สำหรับ node/service ที่ user ต้อง authenticate ด้วย รวมถึง parameter อื่นๆ ที่ workflow ต้องใช้ ขึ้นกับ workflow และสิ่งที่คุณต้องการทำ
2. Create user credentials#
หลังจากได้ credential ครบแล้ว ให้สร้าง service credentials ใน n8n จะใช้ Editor UI หรือ API ก็ได้
Using the Editor UI#
- ที่เมนูเลือก Credentials > New
- เลือก Credential type ที่จะสร้าง เช่น Airtable
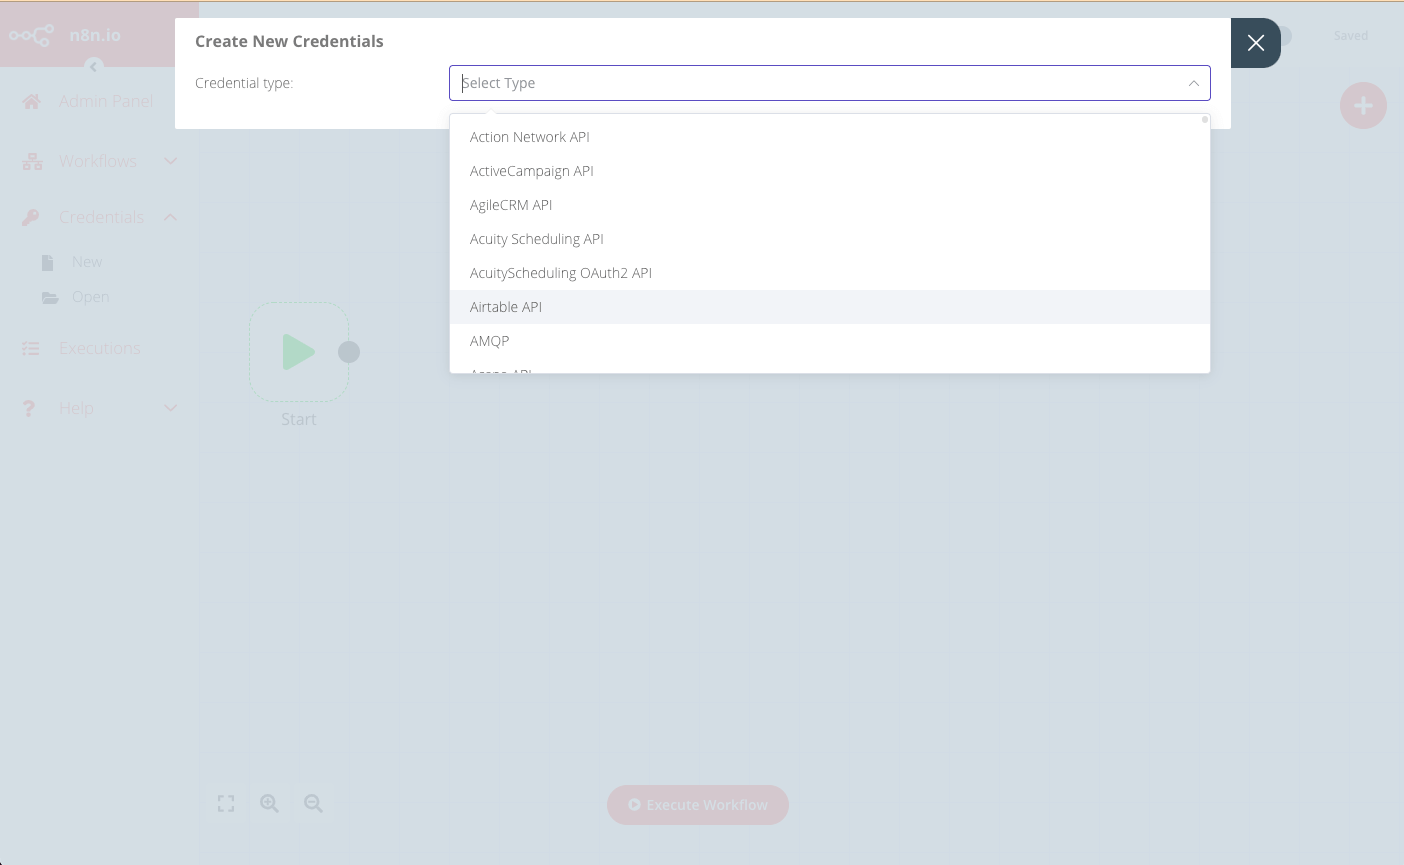
- ใน modal Create New Credentials ใส่รายละเอียด credential ของ user แล้วเลือก node ที่จะเข้าถึง credential นี้ได้
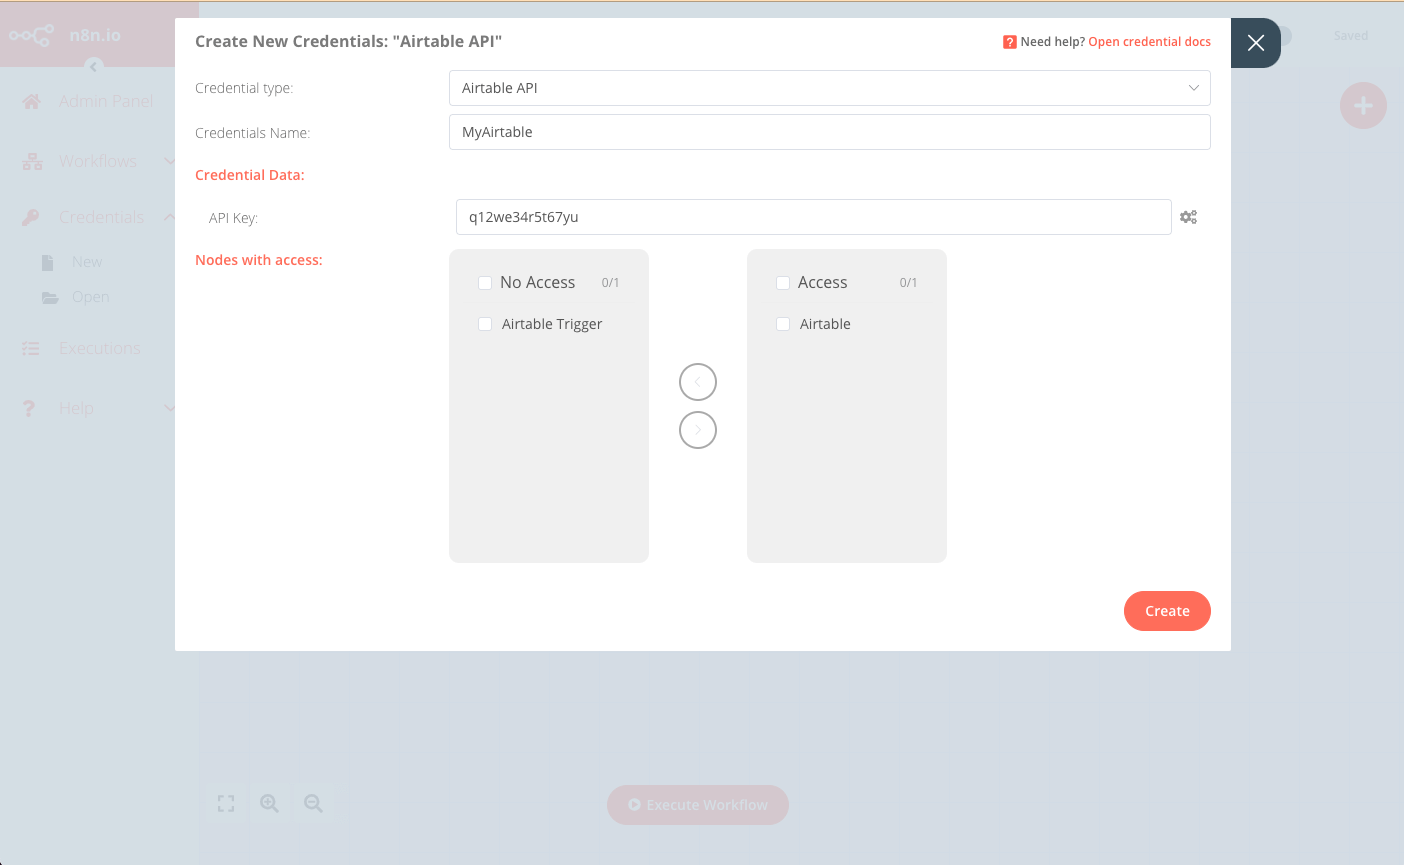
- กด Create เพื่อบันทึก
Using the API#
API ที่ frontend ใช้ใน Editor UI สามารถเรียกตรงได้ endpoint คือ: https://<n8n-domain>/rest/credentials
ตัวอย่างสร้าง credential แบบเดียวกับ Editor UI ข้างบน:
1 | |
request body:
1 2 3 4 5 6 7 8 9 10 11 12 | |
response จะมี ID ของ credential ใหม่ ใช้ตอนสร้าง workflow ต่อไป:
1 2 3 4 5 6 7 8 9 10 11 12 13 14 15 16 17 18 | |
3. Create the workflow#
แนะนำให้มี workflow “base” แล้ว duplicate/customize สำหรับแต่ละ user โดยใส่ credential และรายละเอียดอื่นๆ
จะ duplicate/customize workflow template ได้ทั้งผ่าน Editor UI หรือ API
Using the Editor UI#
-
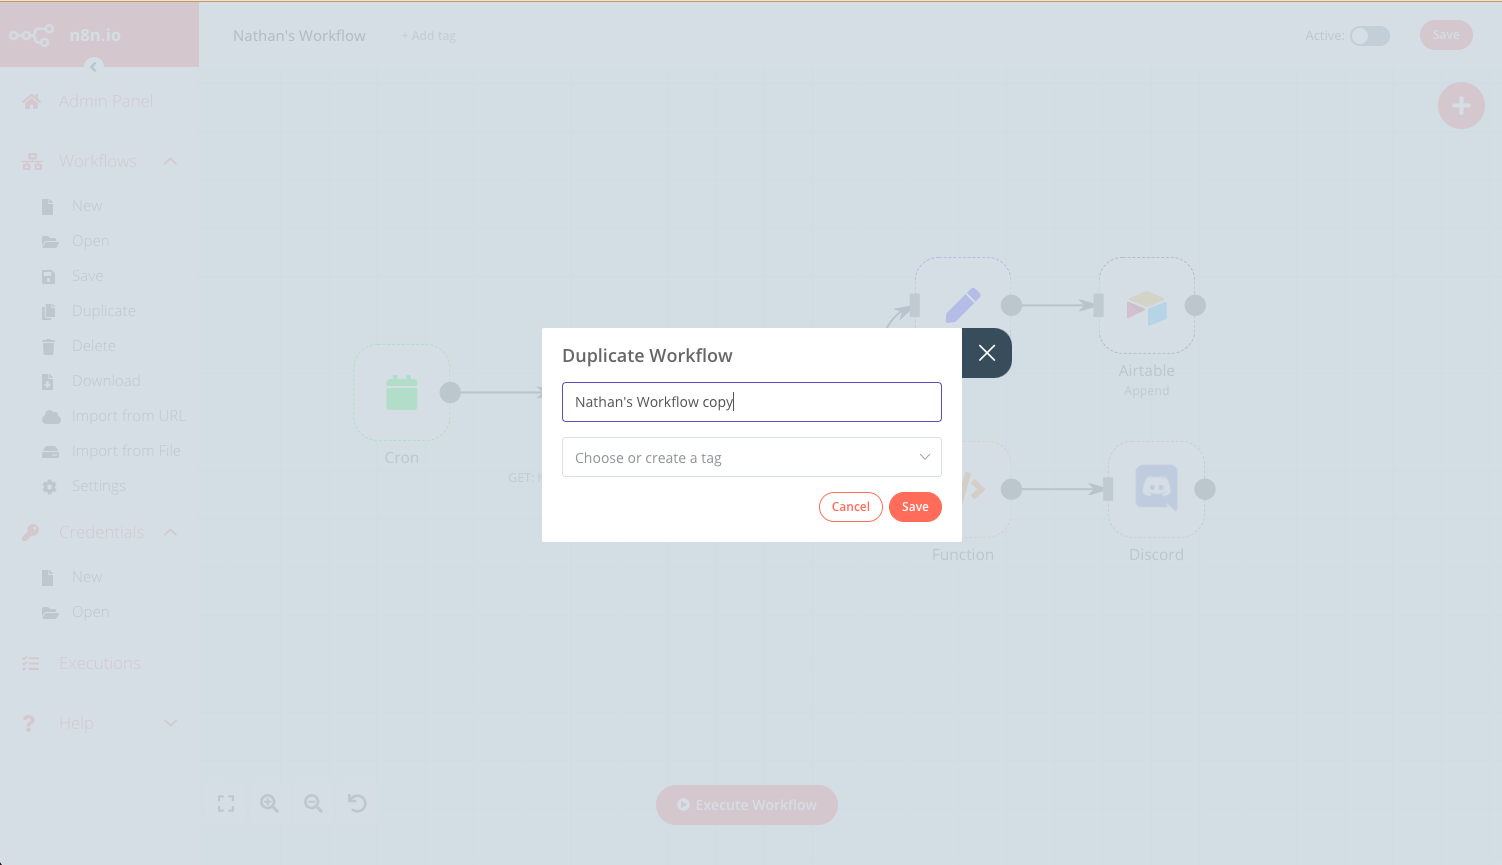
ที่เมนูเลือก Workflows > Open เพื่อเปิด workflow template ที่จะ duplicate
-
เลือก Workflows > Duplicate ตั้งชื่อ workflow ใหม่แล้วกด Save
-
อัปเดต node ที่เกี่ยวข้องให้ใช้ credential ของ user นี้
-
Save workflow แล้วตั้งเป็น Active ด้วย toggle มุมขวาบน
Using the API#
- ดึง JSON ของ workflow template ด้วย endpoint:
https://<n8n-domain>/rest/workflows/<workflow_id>1GET https://<n8n-domain>/rest/workflows/1012
response จะได้ JSON workflow:
1 2 3 4 5 | |
-
เซฟ JSON ที่ได้ แล้วอัปเดต credential และ field ที่เกี่ยวข้องสำหรับ user ใหม่
-
สร้าง workflow ใหม่โดยส่ง JSON ที่อัปเดตแล้วไปที่ endpoint:
https://<n8n-domain>/rest/workflows1POST https://<n8n-domain>/rest/workflows/
response จะมี ID ของ workflow ใหม่ ใช้ในขั้นตอนถัดไป
- สุดท้าย activate workflow ใหม่:
1PATCH https://<n8n-domain>/rest/workflows/1012
ส่งค่า active เพิ่มใน JSON payload:
1 2 3 4 5 | |
Single workflow#
วิธีนี้มี 4 ขั้นตอน:
- ดึง credentials ของแต่ละ user และ parameter อื่นๆ ที่ workflow ต้องใช้ ดู Obtain user credentials ข้างบน
- สร้าง n8n credentials ให้ user นี้ ดู Create user credentials ข้างบน
- สร้าง workflow
- เรียก workflow ตามต้องการ
Create the workflow#
รายละเอียด workflow จะต่างกันไปตาม use case แต่มีหลักการออกแบบที่ควรจำ:
- workflow นี้ต้อง trigger ด้วย Webhook node
- webhook ที่เข้ามาต้องมี credential และ parameter ที่ workflow ต้องใช้
- node ที่ต้องใช้ credential ของ user ให้ใช้ expression เพื่ออ่าน credential จาก webhook
- save และ activate workflow โดยเลือก production URL ใน Webhook node ดูรายละเอียดที่ webhook node
Call the workflow#
สำหรับ user ใหม่ หรือ user เดิมที่ต้องการ ให้เรียก webhook ที่เป็น trigger ของ workflow แล้วส่ง credential (และ parameter อื่นๆ) ที่ต้องใช้ไปด้วย