2. Inserting data into Airtable#
ในขั้นตอนนี้ของ workflow คุณจะได้เรียนรู้วิธีแทรกข้อมูลที่ได้รับจาก HTTP Request node ลงใน Airtable โดยใช้ Airtable node
Spreadsheet nodes
คุณสามารถแทนที่ Airtable node ด้วย spreadsheet app/service อื่นได้ ตัวอย่างเช่น n8n ยังมี node สำหรับ Google Sheets
หลังจากขั้นตอนนี้ workflow ของคุณควรมีลักษณะดังนี้:
Configure your table#
หากเราจะแทรกข้อมูลลงใน Airtable ก่อนอื่นเราต้องตั้งค่าตารางที่นั่นก่อน ในการทำเช่นนี้:
- Create an Airtable account.
-
In your Airtable workspace add a new base from scratch and name it, for example, beginner course.
Create an Airtable base -
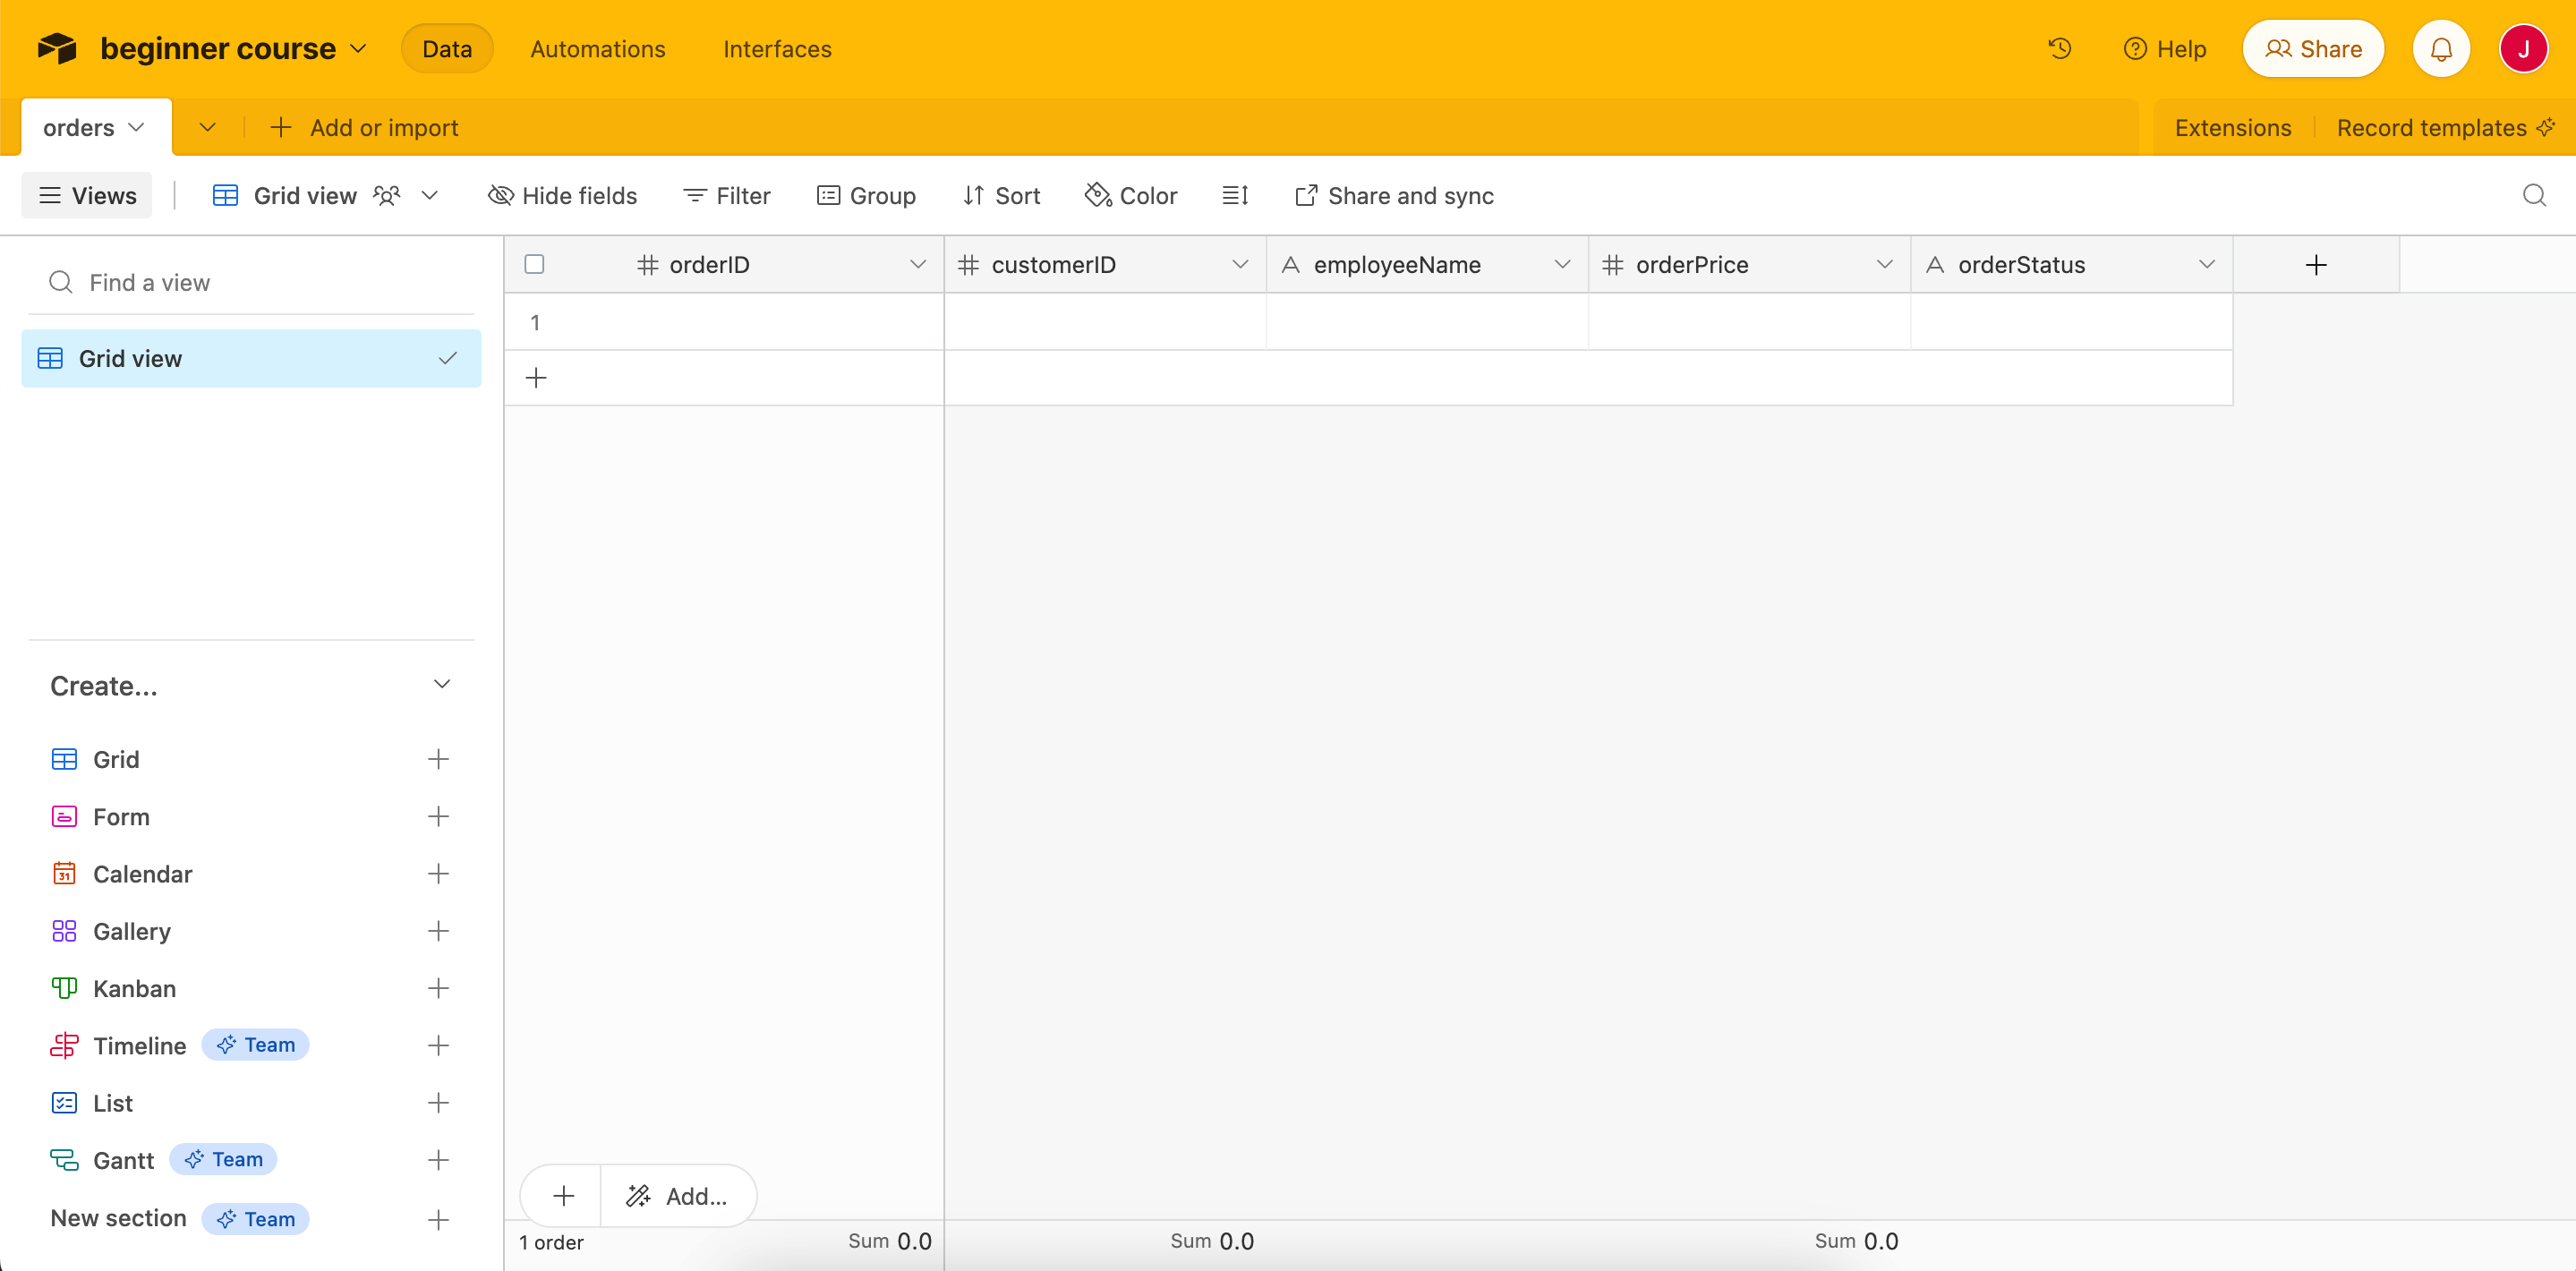
ใน beginner course base โดยค่าเริ่มต้น คุณจะมีตารางชื่อ Table 1 ที่มีสี่ fields:
Name,Notes,Assignee, และStatusfields เหล่านี้ไม่เกี่ยวข้องกับเราเนื่องจากไม่ได้อยู่ในชุดข้อมูล "orders" ของเรา สิ่งนี้นำเราไปสู่ประเด็นถัดไป: ชื่อของ fields ใน Airtable ต้องตรงกับชื่อของคอลัมน์ในผลลัพธ์ของ node เตรียมตารางโดยทำดังต่อไปนี้:- Rename the table from Table 1 to orders to make it easier to identify.
- Delete the 3 blank records created by default.
- Delete the
Notes,Assignee, andStatusfields. - Edit the
Namefield (the primary field) to readorderID, with the Number field type. - Add the rest of the fields, and their field types, using the table below as a reference:
Field name Field type orderIDNumber customerIDNumber employeeNameSingle line text orderPriceNumber orderStatusSingle line text
ตอนนี้ตารางของคุณควรมีลักษณะดังนี้:
ตอนนี้ตารางพร้อมแล้ว กลับไปที่ workflow ใน n8n Editor UI กัน
Add an Airtable node to the HTTP Request node#
เพิ่ม Airtable node ที่เชื่อมต่อกับ HTTP Request node
Remember
คุณสามารถเพิ่ม node ที่เชื่อมต่อกับ node ที่มีอยู่ได้โดยเลือกไอคอน + ถัดจาก node ที่มีอยู่
ใน node panel:
- Search for Airtable.
- Select Create a record from the Record Actions search results.
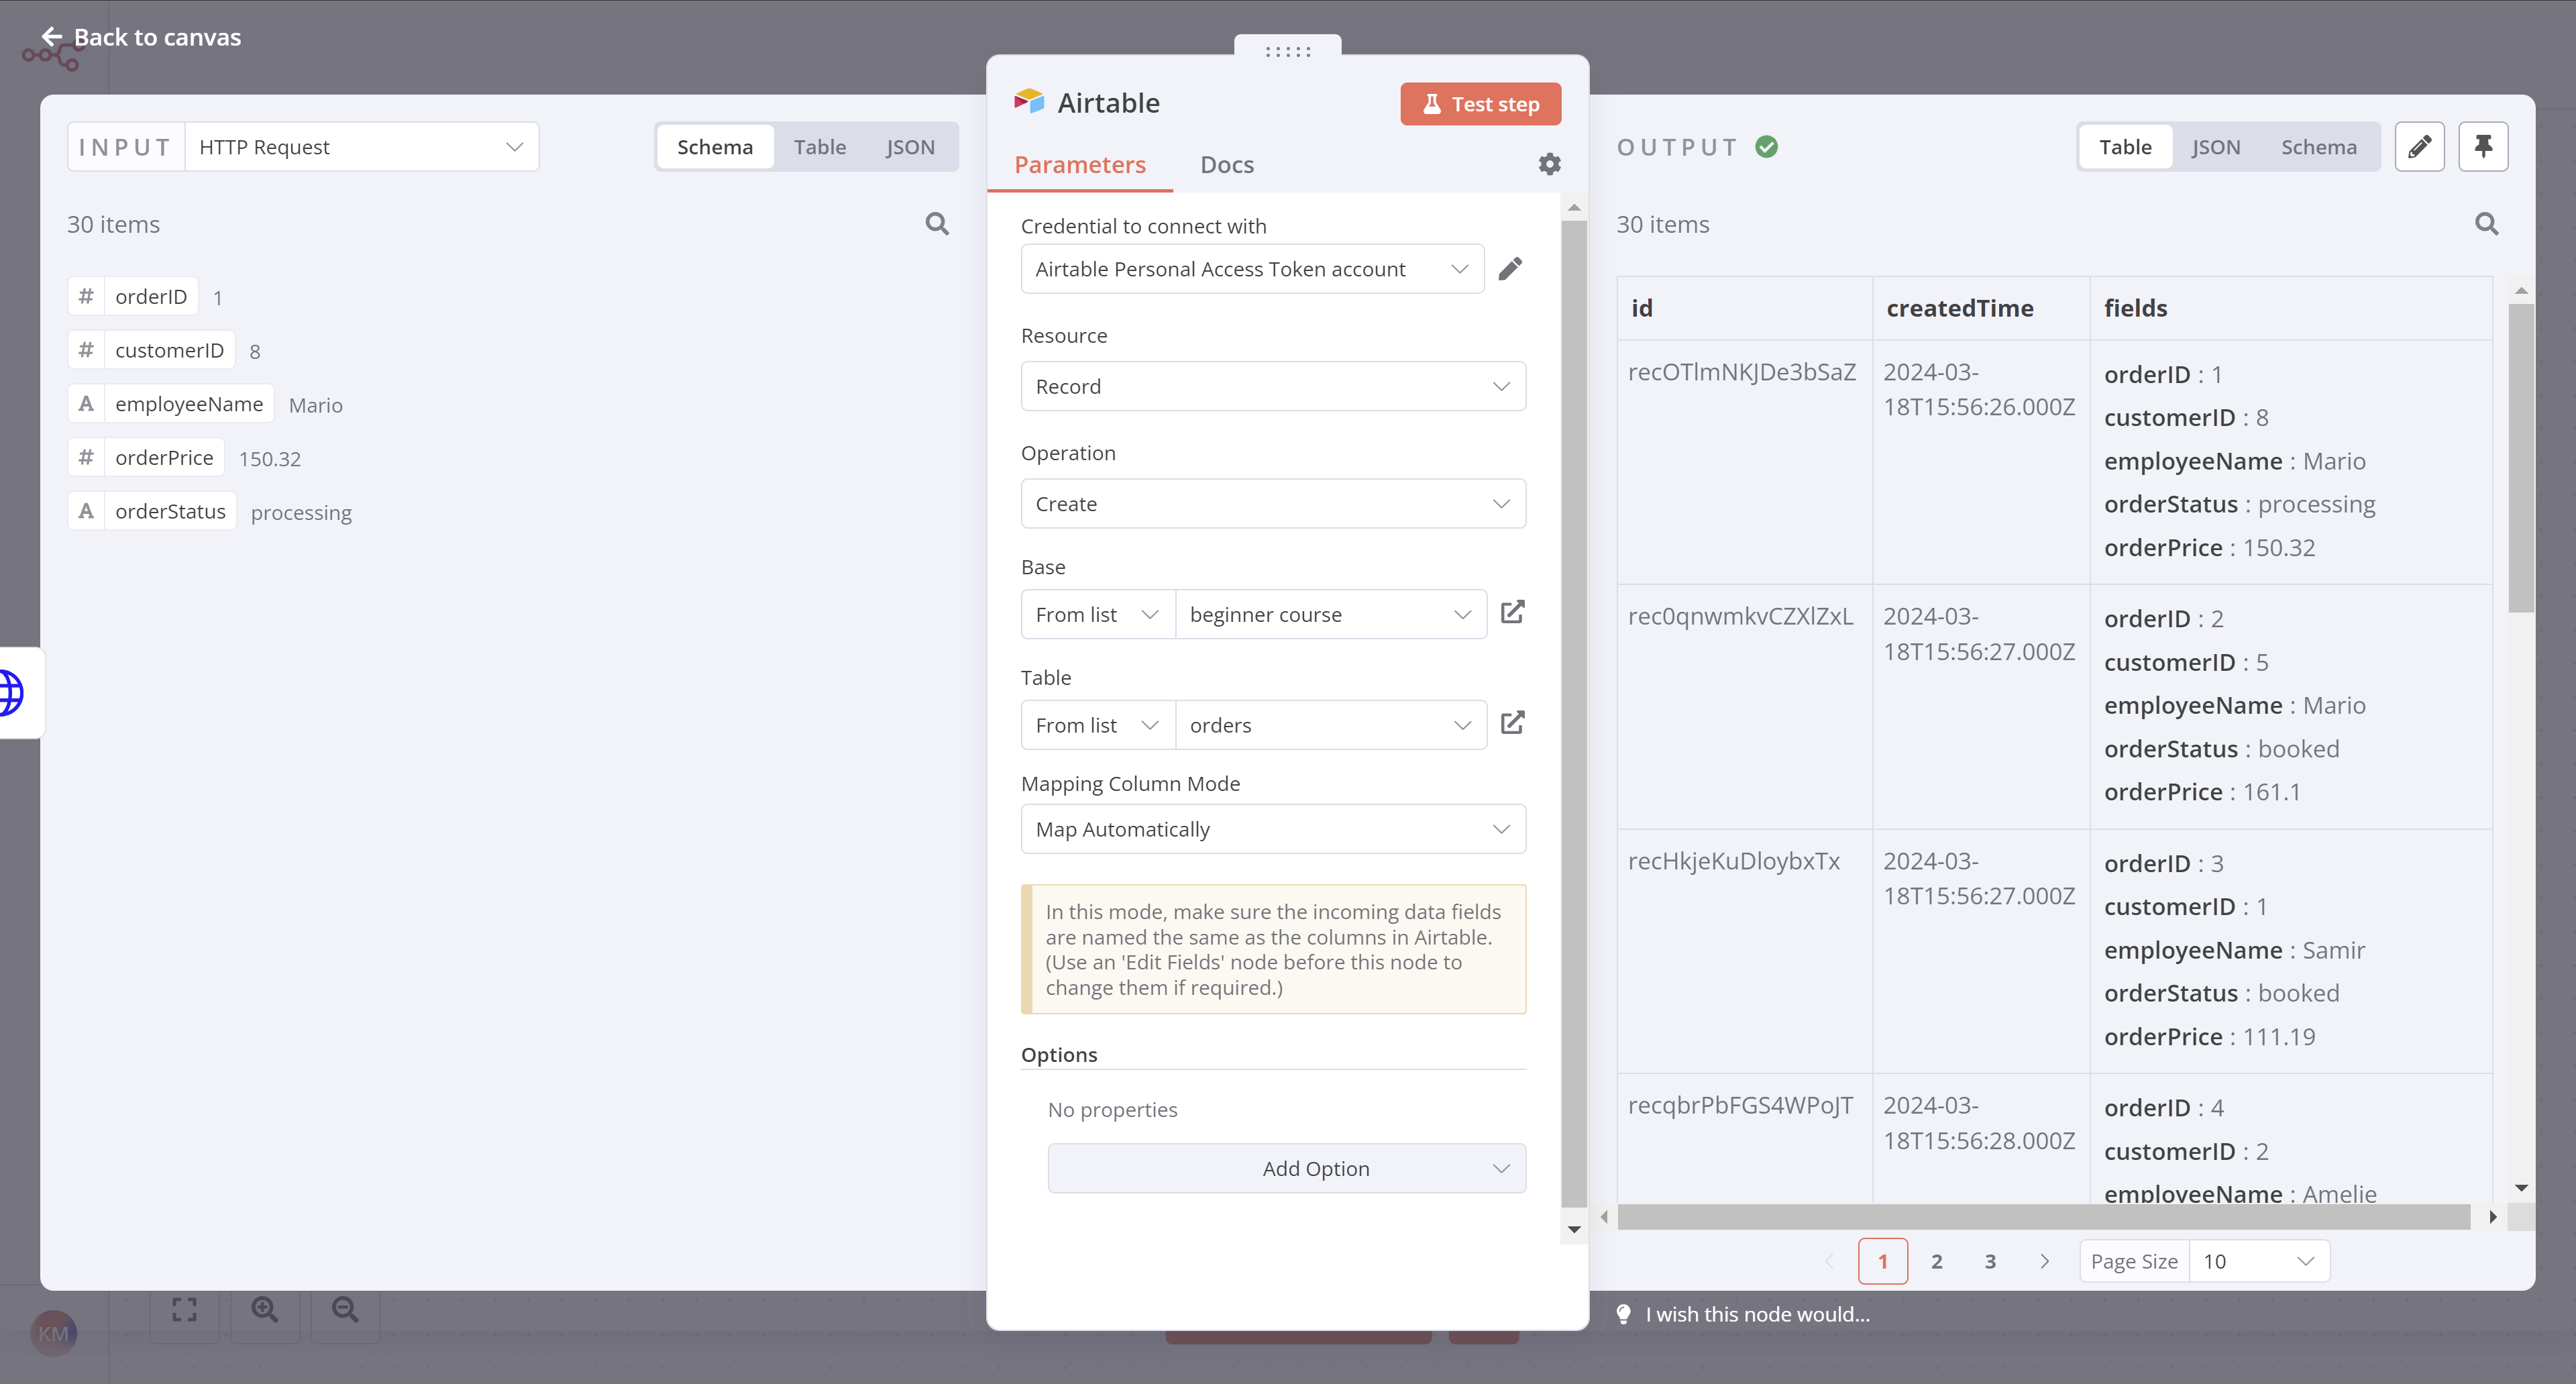
การดำเนินการนี้จะเพิ่ม Airtable node ลงใน canvas ของคุณและเปิดหน้าต่างรายละเอียด node
ในหน้าต่าง Airtable node กำหนดค่า parameters ต่อไปนี้:
- Credential to connect with:
- Select Create new credential.
- Keep the default option Connect using: Access Token selected.
- Access token: ทำตามคำแนะนำจากหน้า Airtable credential เพื่อสร้าง token ของคุณ ใช้ scopes ที่แนะนำและเพิ่ม access ไปยัง beginners course base ของคุณ บันทึก credential และปิดหน้าต่าง Credential เมื่อคุณทำเสร็จแล้ว
- Resource: Record.
- Operation: Create. operation นี้จะสร้าง records ใหม่ในตาราง
- Base: You can pick your base from a list (for example, beginner course).
- Table: orders.
- Mapping Column Mode: Map automatically. ในโหมดนี้ incoming data fields ต้องมีชื่อเหมือนกับคอลัมน์ใน Airtable
Test the Airtable node#
เมื่อคุณกำหนดค่า Airtable node เสร็จแล้ว ให้ εκτέλεση (execute) โดยเลือก Test step อาจใช้เวลาสักครู่ในการประมวลผล แต่คุณสามารถติดตามความคืบหน้าได้โดยดู base ใน Airtable
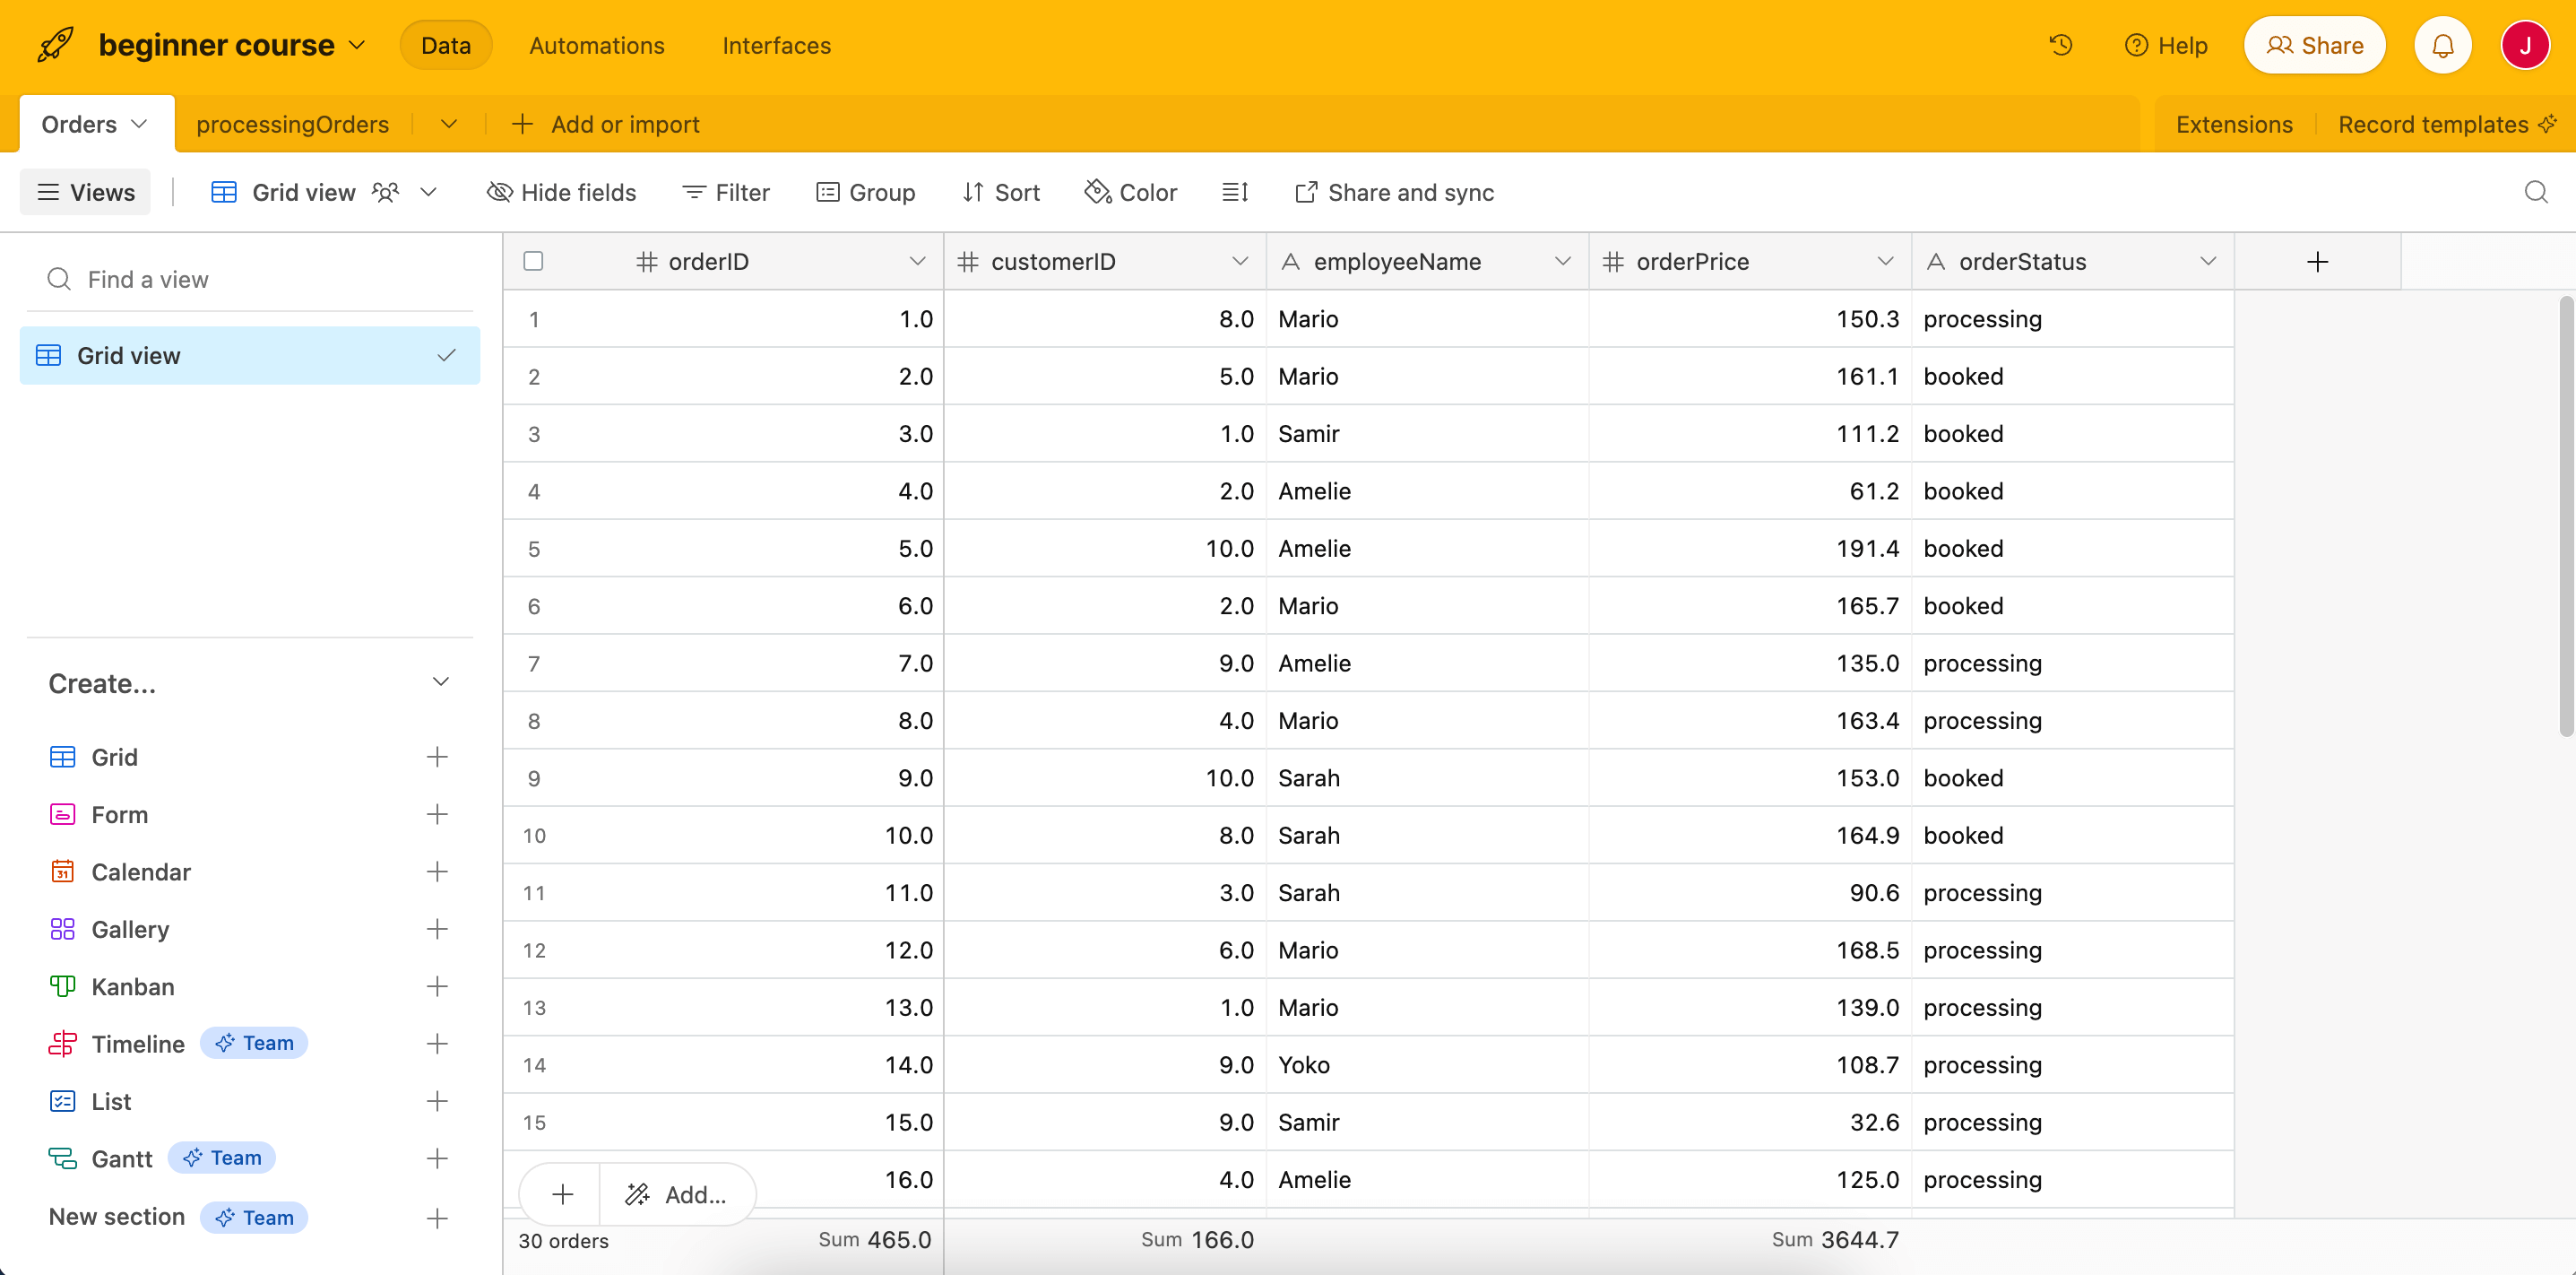
ผลลัพธ์ของคุณควรมีลักษณะดังนี้:
data records ทั้ง 30 รายการจะปรากฏในตาราง orders ใน Airtable:
What's next?#
Nathan 🙋: ว้าว automation นี้นี่มีประโยชน์มาก! แต่นี่เป็นการแทรกข้อมูลที่รวบรวมทั้งหมดจาก HTTP Request node ลงใน Airtable จำได้ไหมว่าจริงๆ แล้วฉันต้องการแทรกเฉพาะ processing orders ลงในตารางและคำนวณราคาของ booked orders?
You 👩🔧: แน่นอน ไม่มีปัญหา ในขั้นตอนถัดไป ฉันจะใช้ node ใหม่เพื่อกรอง orders ตามสถานะของมัน