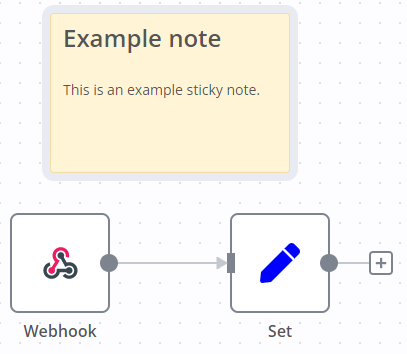
Sticky Notes#
Sticky Notes ช่วยให้คุณสามารถใส่คำอธิบายประกอบและแสดงความคิดเห็นใน workflows ของคุณได้
n8n แนะนำให้ใช้ Sticky Notes อย่างสม่ำเสมอ โดยเฉพาะอย่างยิ่งใน template workflows เพื่อช่วยให้ผู้ใช้คนอื่นเข้าใจ workflow ของคุณ
Create a Sticky Note#
Sticky Notes เป็น core node วิธีเพิ่ม Sticky Note ใหม่:
- เปิด nodes panel
- ค้นหา
note - คลิกที่ Sticky Note node n8n จะเพิ่ม Sticky Note ใหม่ลงบน canvas
Edit a Sticky Note#
- ดับเบิลคลิกที่ Sticky Note ที่คุณต้องการแก้ไข
- เขียนบันทึกของคุณ คู่มือนี้ อธิบายวิธีการจัดรูปแบบข้อความของคุณด้วย Markdown n8n ใช้ markdown-it ซึ่งใช้ข้อกำหนด CommonMark
- คลิกออกห่างจาก note หรือกด
Escเพื่อหยุดแก้ไข
Change the color#
วิธีเปลี่ยนสี Sticky Note:
- วางเมาส์เหนือ Sticky Note
- เลือก Change color

Sticky Note positioning#
คุณสามารถ:
- ลาก Sticky Note ไปวางที่ใดก็ได้บน canvas
- ลาก Sticky Notes ไปไว้ด้านหลัง nodes คุณสามารถใช้สิ่งนี้เพื่อจัดกลุ่ม nodes ด้วยสายตา
- ปรับขนาด Sticky Notes โดยวางเมาส์เหนือขอบของ note แล้วลากเพื่อปรับขนาด
- เปลี่ยนสี: เลือก Options
 เพื่อเปิดตัวเลือกสี
Writing in Markdown#
Sticky Notes รองรับการจัดรูปแบบ Markdown ส่วนนี้อธิบายตัวเลือกทั่วไปบางส่วน
1 2 3 4 5 6 7 8 9 10 11 12 13 14 15 16 17 18 19 20 21 | |
สำหรับคำแนะนำโดยละเอียดเพิ่มเติม โปรดดูที่ CommonMark's help n8n ใช้ markdown-it ซึ่งใช้ข้อกำหนด CommonMark
Make images full width#
คุณสามารถบังคับให้รูปภาพมีความกว้าง 100% ของ sticky note ได้โดยการเพิ่ม #full-width ต่อท้ายชื่อไฟล์:
1 | |